Mastering Microsoft Graph API

General
Let’s switch things up with some PowerShell coding. This time, we’re diving into using the PIM+ PowerShell Event Monitor and the Microsoft Graph API. Our goal? To take our monitoring to the next level and get more control over monitoring Azure and Microsoft cloud services. By tapping into these APIs, we can enhance our security and really get a handle on what’s happening across our cloud environments. So, let’s get started and see how these powerful tools and APIs can make our lives easier and our monitoring more effective.
Let’s get started
We will be setting up authentication first in Azure to access the Microsoft Graph API. The Microsoft Graph API is a powerful tool for data access across Microsoft Cloud services. It features REST APIs data retrieval from a wide array of Microsoft cloud services. Here’s a breakdown of the services currently supported:
- Microsoft 365 Core Services: Bookings, Calendar, Delve, Excel, Microsoft 365 compliance eDiscovery, Microsoft Search, OneDrive, OneNote, Outlook/Exchange, People (Outlook contacts), Planner, SharePoint, Teams, To Do, Viva Insights
- Enterprise Mobility + Security Services: Advanced Threat Analytics, Advanced Threat Protection, Microsoft Entra ID, Identity Manager, Intune
- Windows Services: Activities, Devices, Notifications, Universal Print
- Dynamics 365 Business Central Services
Creating App registration
Setting up an app registration in Microsoft Entra is an essential step if you’re creating applications or PowerShell scripts that will work with Microsoft Cloud services using the Microsoft Graph API. Let’s set up an app registration:
- Sign into the Azure Portal: Navigate to https://portal.azure.com and sign in with your Microsoft account credentials that have permissions to access Microsoft Entra.
- Access Microsoft Entra: In the Azure Portal, search for and select “Entra” or “Azure Active Directory.”
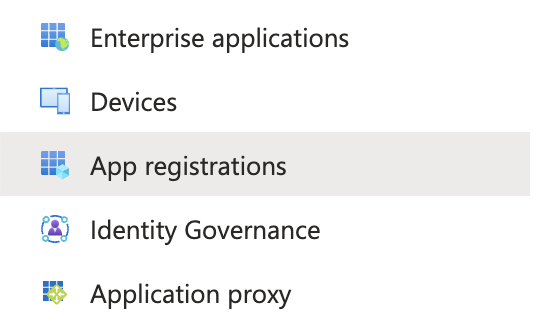
- Navigate to App Registrations: Within the Entra or Azure Active Directory overview page, find and click on “App registrations” in the sidebar.
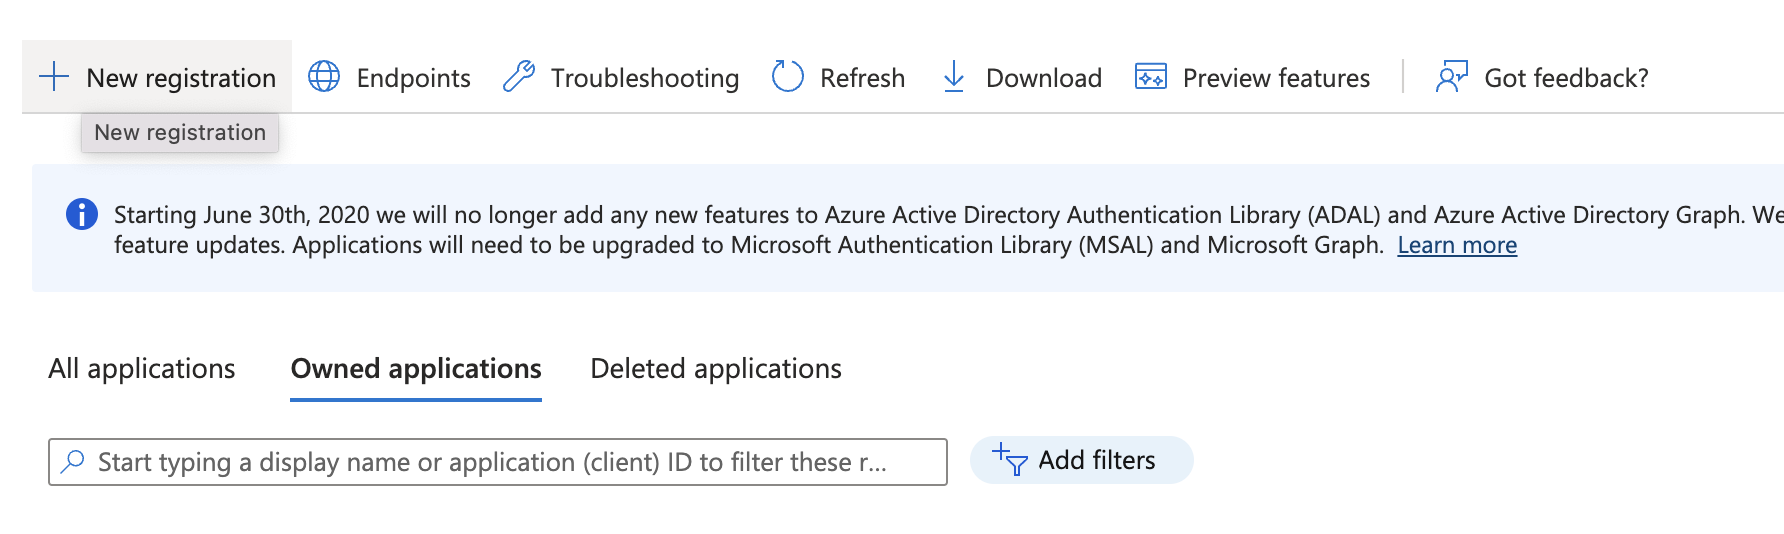
- New Registration: Click on “New registration” at the top of the page.
-
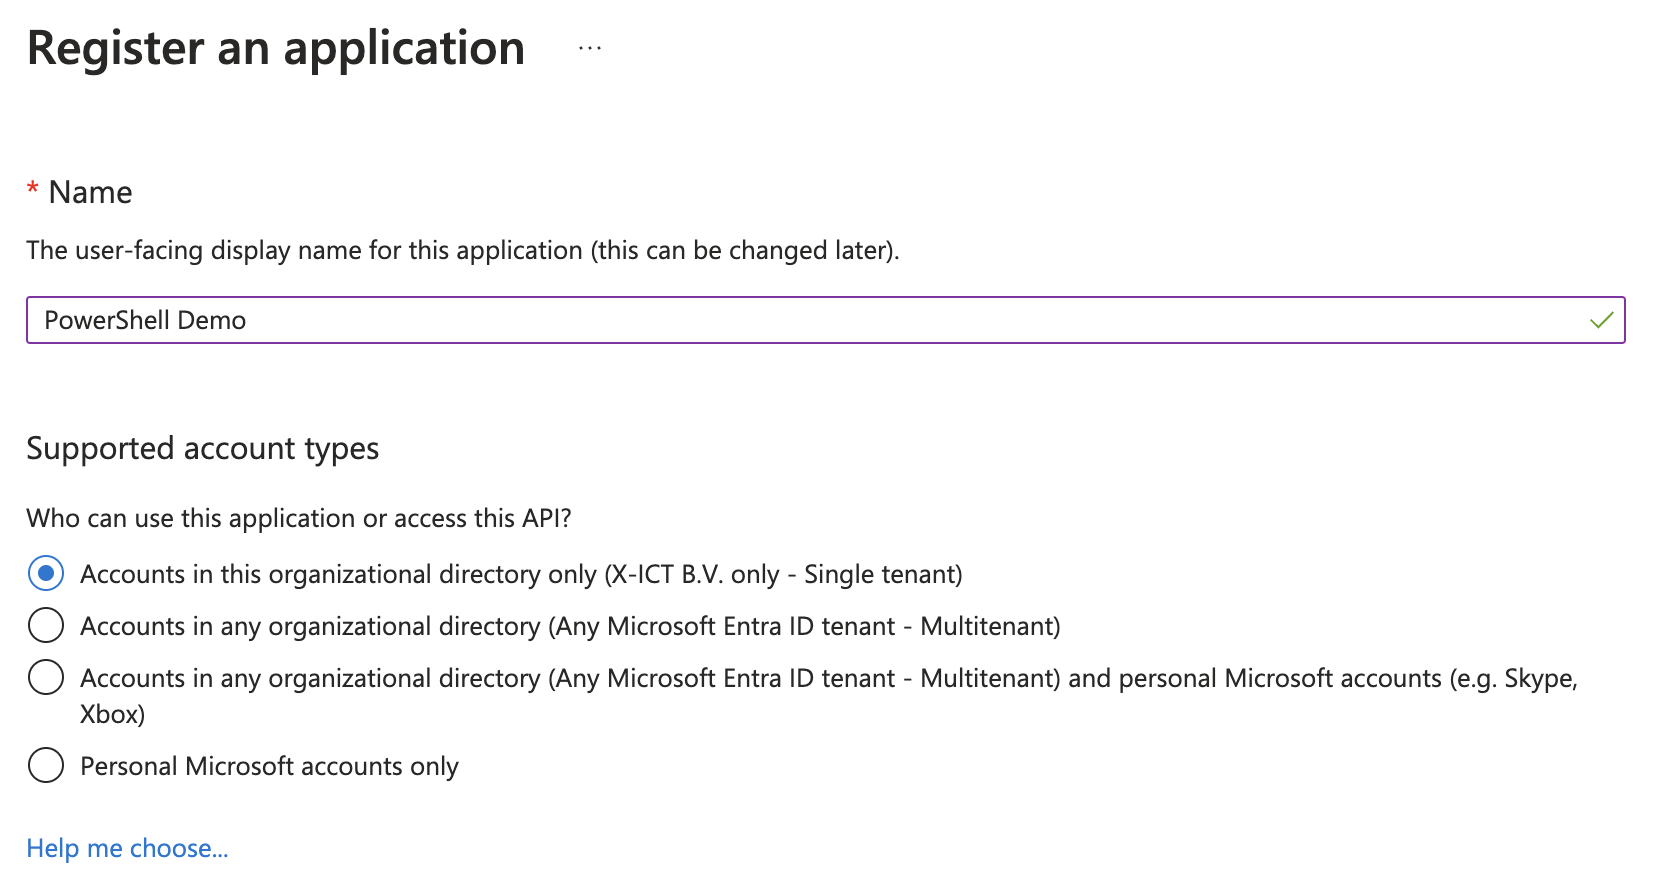
Register an Application:
- Name: Provide a meaningful name for your application that reflects its purpose.
- Supported account types: Choose the types of accounts that will be able to access your application. This can range from single-tenant (just your organization) to multi-tenant (any organization and personal Microsoft accounts). Select Single tenant.
- Redirect URI (optional): Leave Blank
-
Register the Application:
- Click on the “Register” button. You will be redirected to the application’s overview page, where you can see your newly created application’s details, including the Application (client) ID and Directory (tenant) ID, which are - necessary for developing applications that use Microsoft Cloud services.
-
Configure Permissions:
- Go to “API permissions” in the sidebar.
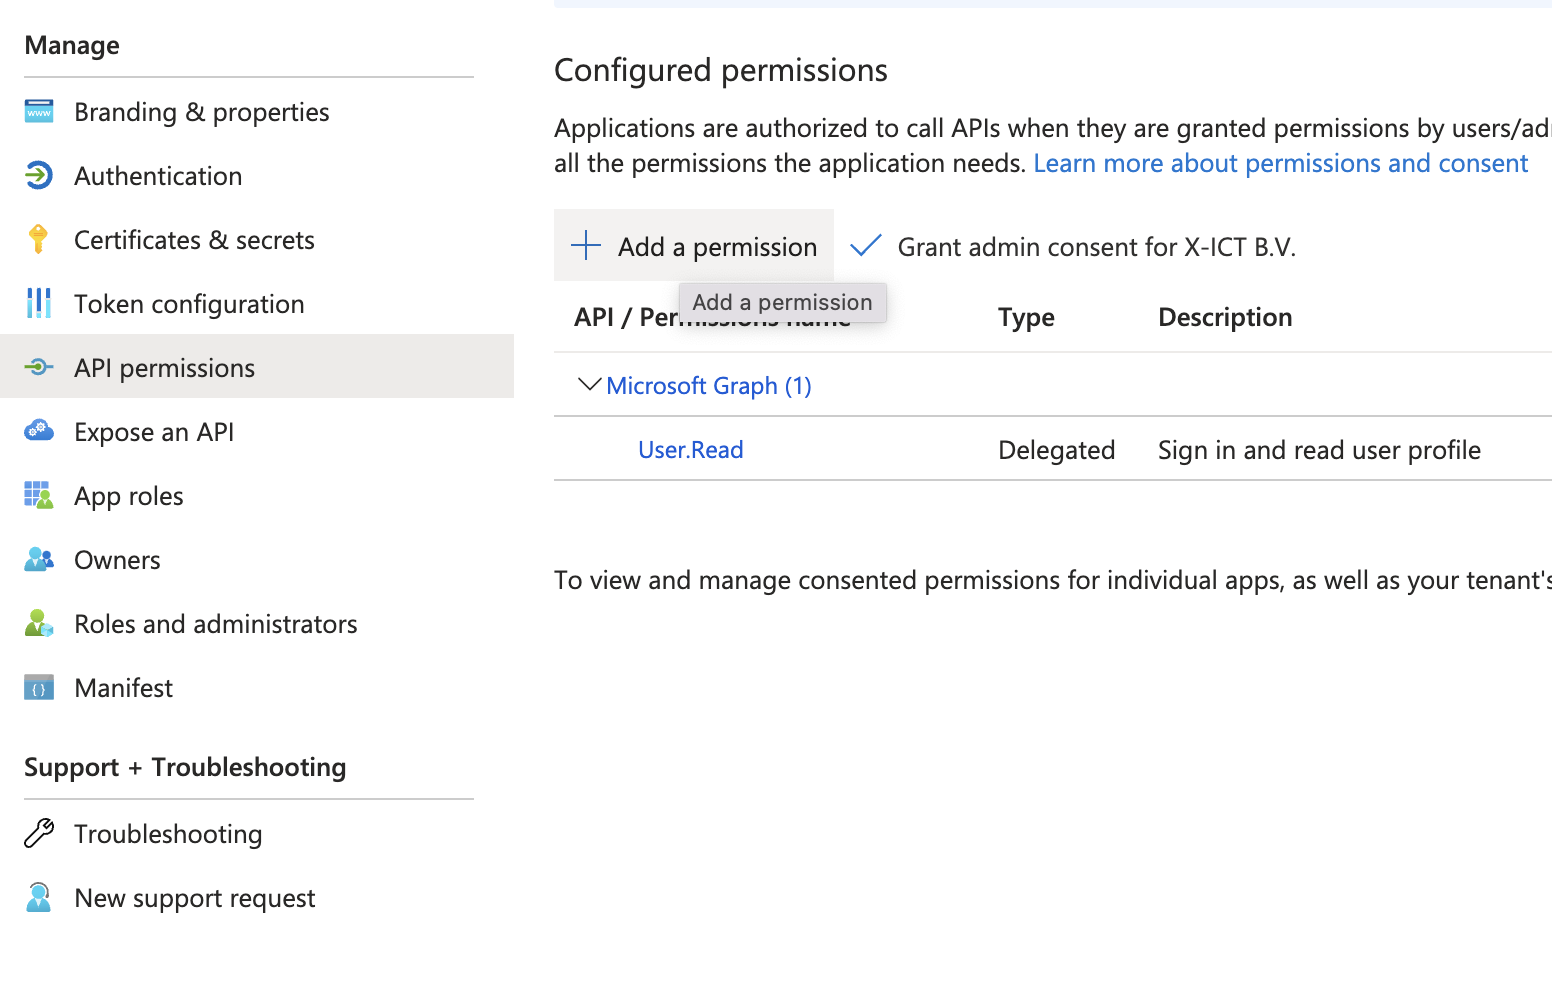
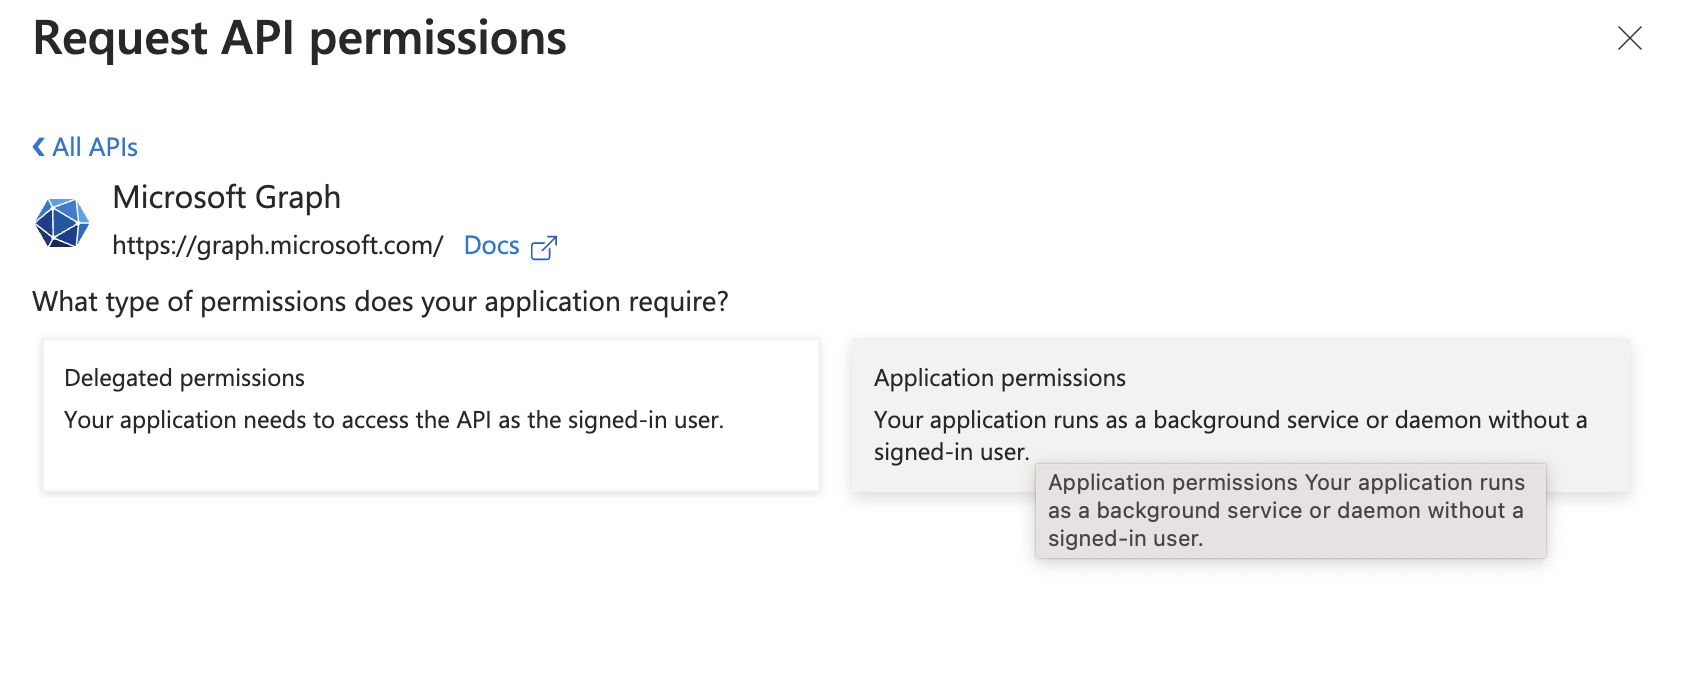
- Click on “Add a permission” and select the APIs your application requires access to, such as Microsoft Graph.
- Choose the appropriate permissions (Delegated or Application permissions) based on your application’s needs and click “Add permissions.”
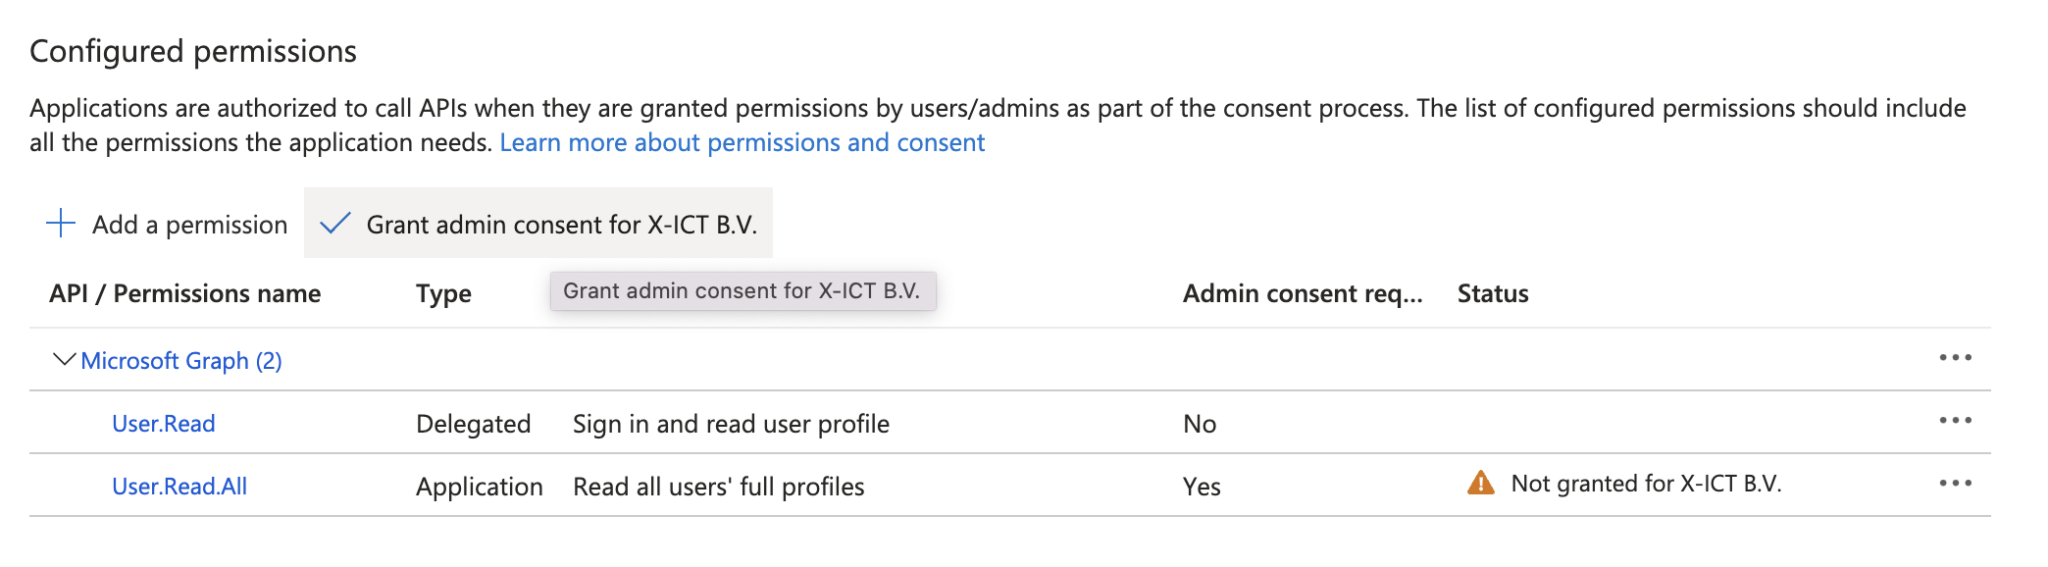
- Add the following Application permissions: User.Read.All
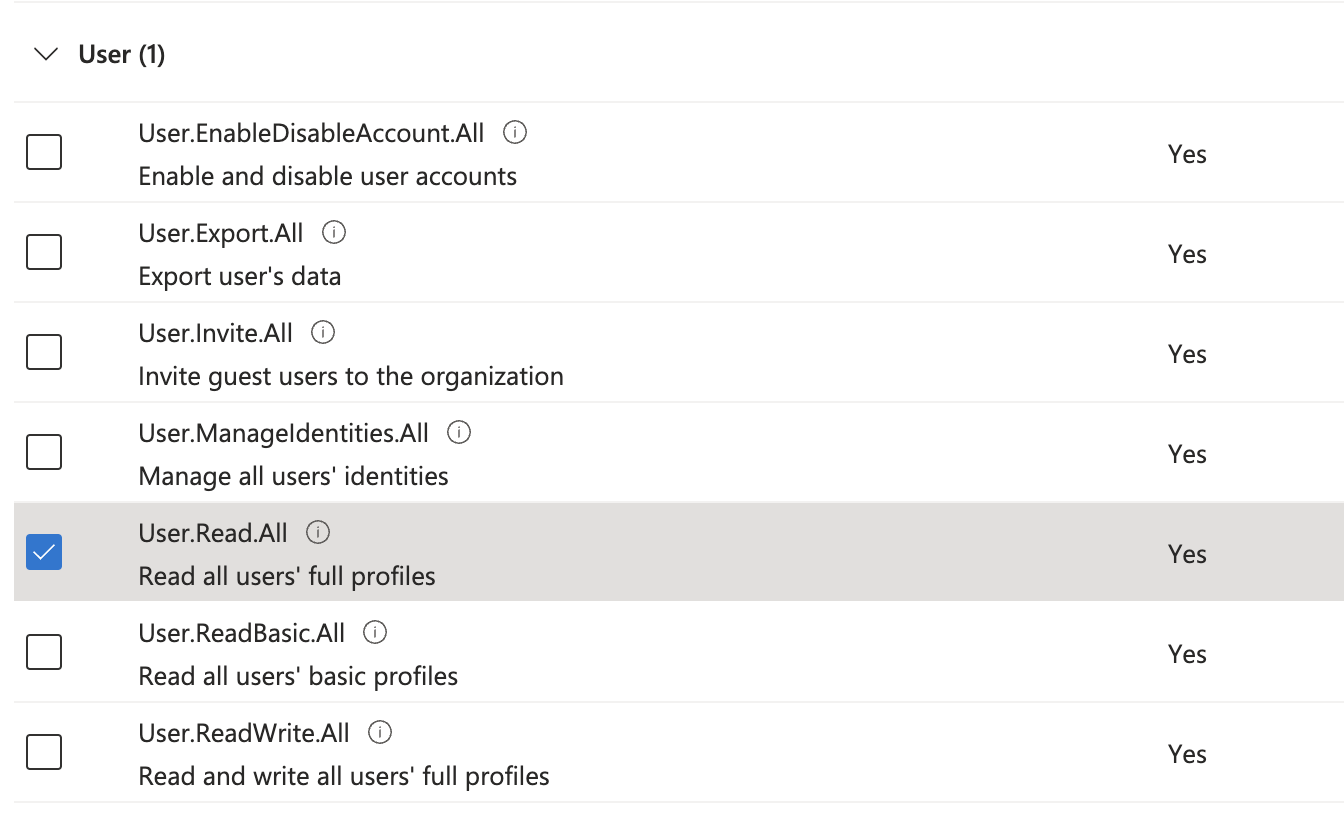
Make sure you grant admin consent!
- Create a Client Secret:
If your application runs as a daemon or needs to access resources without a user, you’ll need a client secret.
- Go to “Certificates & secrets” in the sidebar.
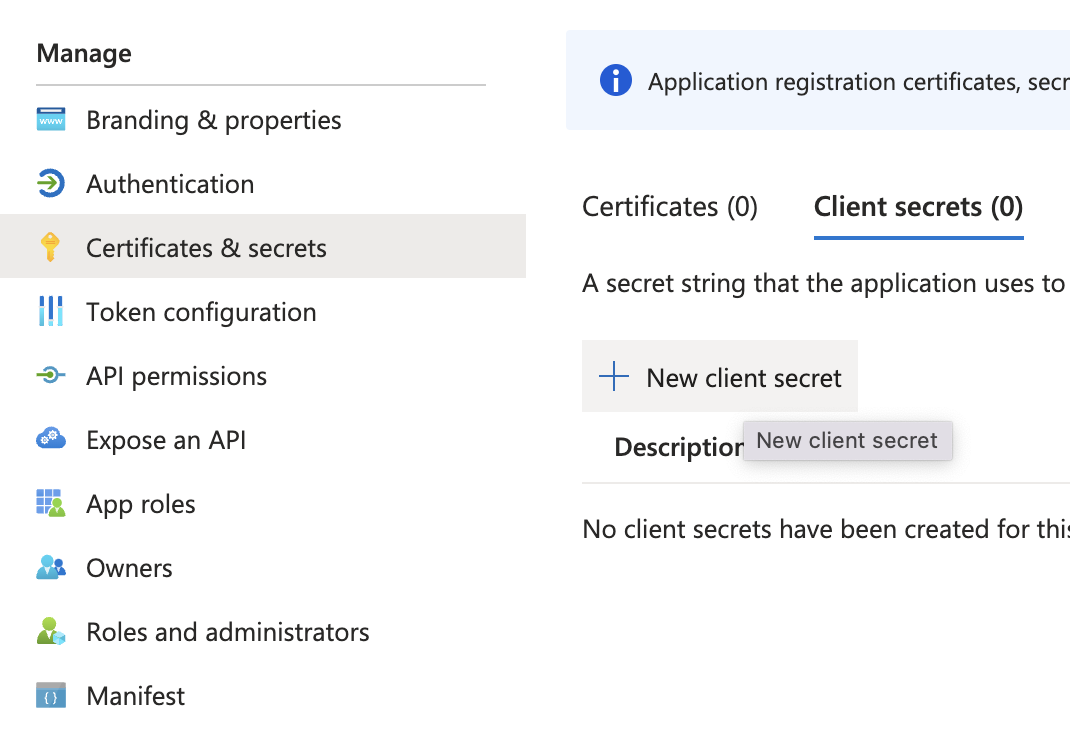
- Click on “New client secret,” provide a description, set the expiration as needed, and click “Add.”
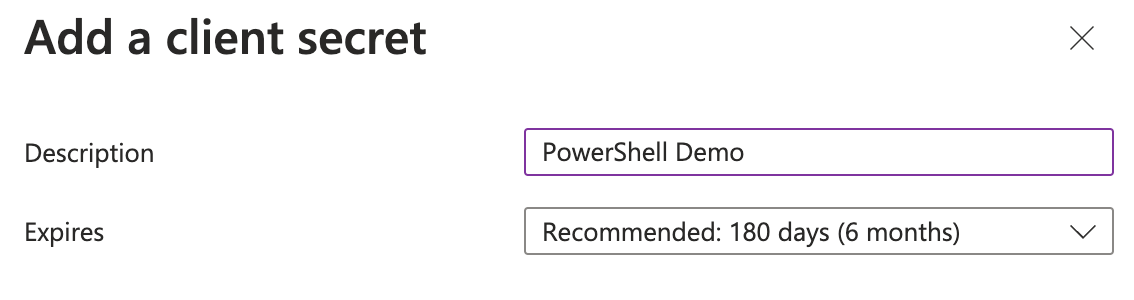
Make sure to copy the value of the client secret now, as you won’t be able to see it again after you leave this page. You need the value, not the Secret ID.
By following these steps, you will have successfully registered your application in Microsoft Entra, allowing it to interact with Microsoft Cloud services via the Microsoft Graph API.
Be sure to securely store the Application (client) ID, Directory (tenant) ID, and any client secrets, as you will need them. The client ID and Tenant ID are found in the app registration overview. You can use the Tenant ID as $tenantDomain in the script.
Creating custom PIM+ Event monitor
Having set up the credentials for using the Microsoft Graph API, we can now leverage it for a variety of tasks. We’ve granted the permission to read user data from Microsoft Entra Identity. I will show a practical use case of the Graph API.
Let’s dive into something exciting! Currently, I’m transitioning users from the local Active Directory (AD) to Entra Identity. My goal is to develop a PowerShell script that identifies users already migrated to the cloud and those removed from AD Connect.
- Sign into the PIM+: Add a PowerShell Script Event Monitor

- Add the PowerShell code:
# Set the security protocol to TLS 1.2 for secure communications
[Net.ServicePointManager]::SecurityProtocol = [Net.SecurityProtocolType]::Tls12
Try {
# Define Azure AD application credentials and tenant domain
$clientID = "<<Fill in>>"
$clientSecret = "<<Fill in>>"
$tenantDomain = "<<Fill in>>"
# Microsoft identity platform and Microsoft Graph API endpoints
$loginURL = 'https://login.microsoftonline.com'
$scope = 'https://graph.microsoft.com/.default'
# Body parameters for acquiring an access token
$body = @{
grant_type = "client_credentials" # The grant type for OAuth 2.0 client credentials flow
scope = $scope # The scope of the access request
client_id = $clientID # The client ID of the Azure AD application
client_secret = $clientSecret # The client secret of the Azure AD application
}
# Request an access token from Microsoft identity platform
$tokenResponse = Invoke-RestMethod -Method Post -Uri "$loginURL/$tenantDomain/oauth2/v2.0/token" -Body $body
# Headers for subsequent API requests, including the authorization token
$headerParams = @{
'Authorization' = "$($tokenResponse.token_type) $($tokenResponse.access_token)"
'Content-Type' = "application/json"
}
# API endpoint to filter for users
$url = 'https://graph.microsoft.com/v1.0/users'
# Invoke the Microsoft Graph API to get users with the specified filter
$users = Invoke-RestMethod -Headers $headerParams -Uri $url -Method Get
# Count and details of the users retrieved
$userCount = $users.value.Count
$userDetails = $users.value | ForEach-Object { $_.displayName + " (" + $_.userPrincipalName + ")" }
$outputUser = ""
# Concatenate user details for output
Foreach($user in $userDetails){
$outputUser += "$user <br />"
}
# Output the results
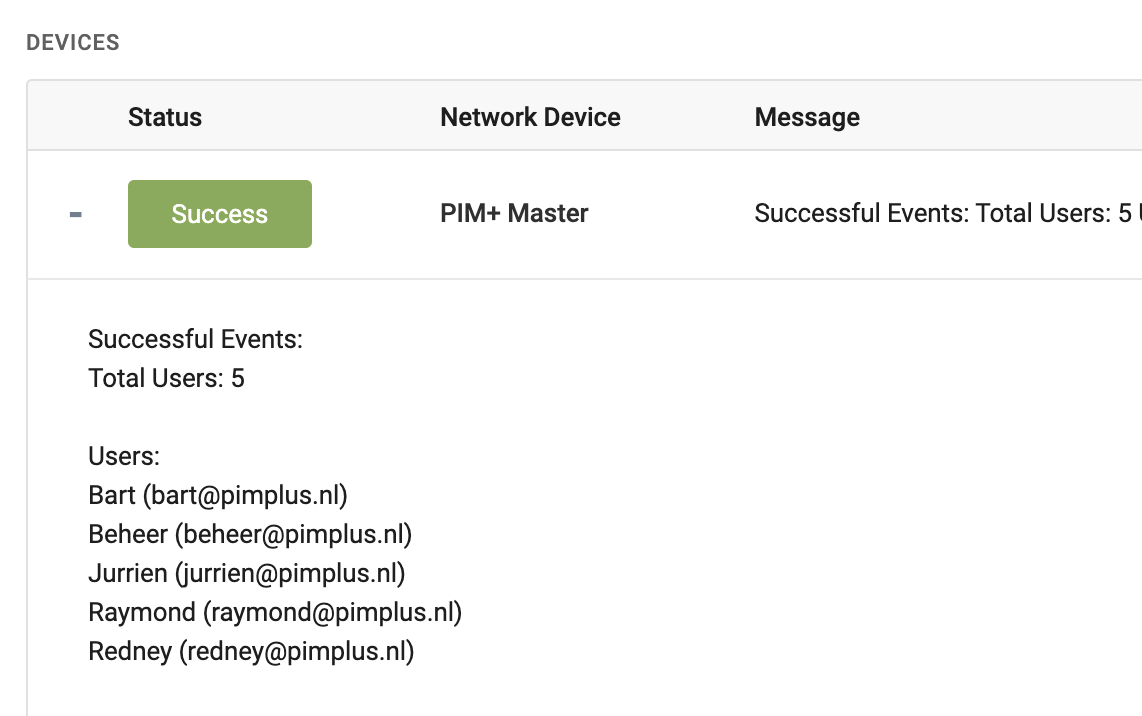
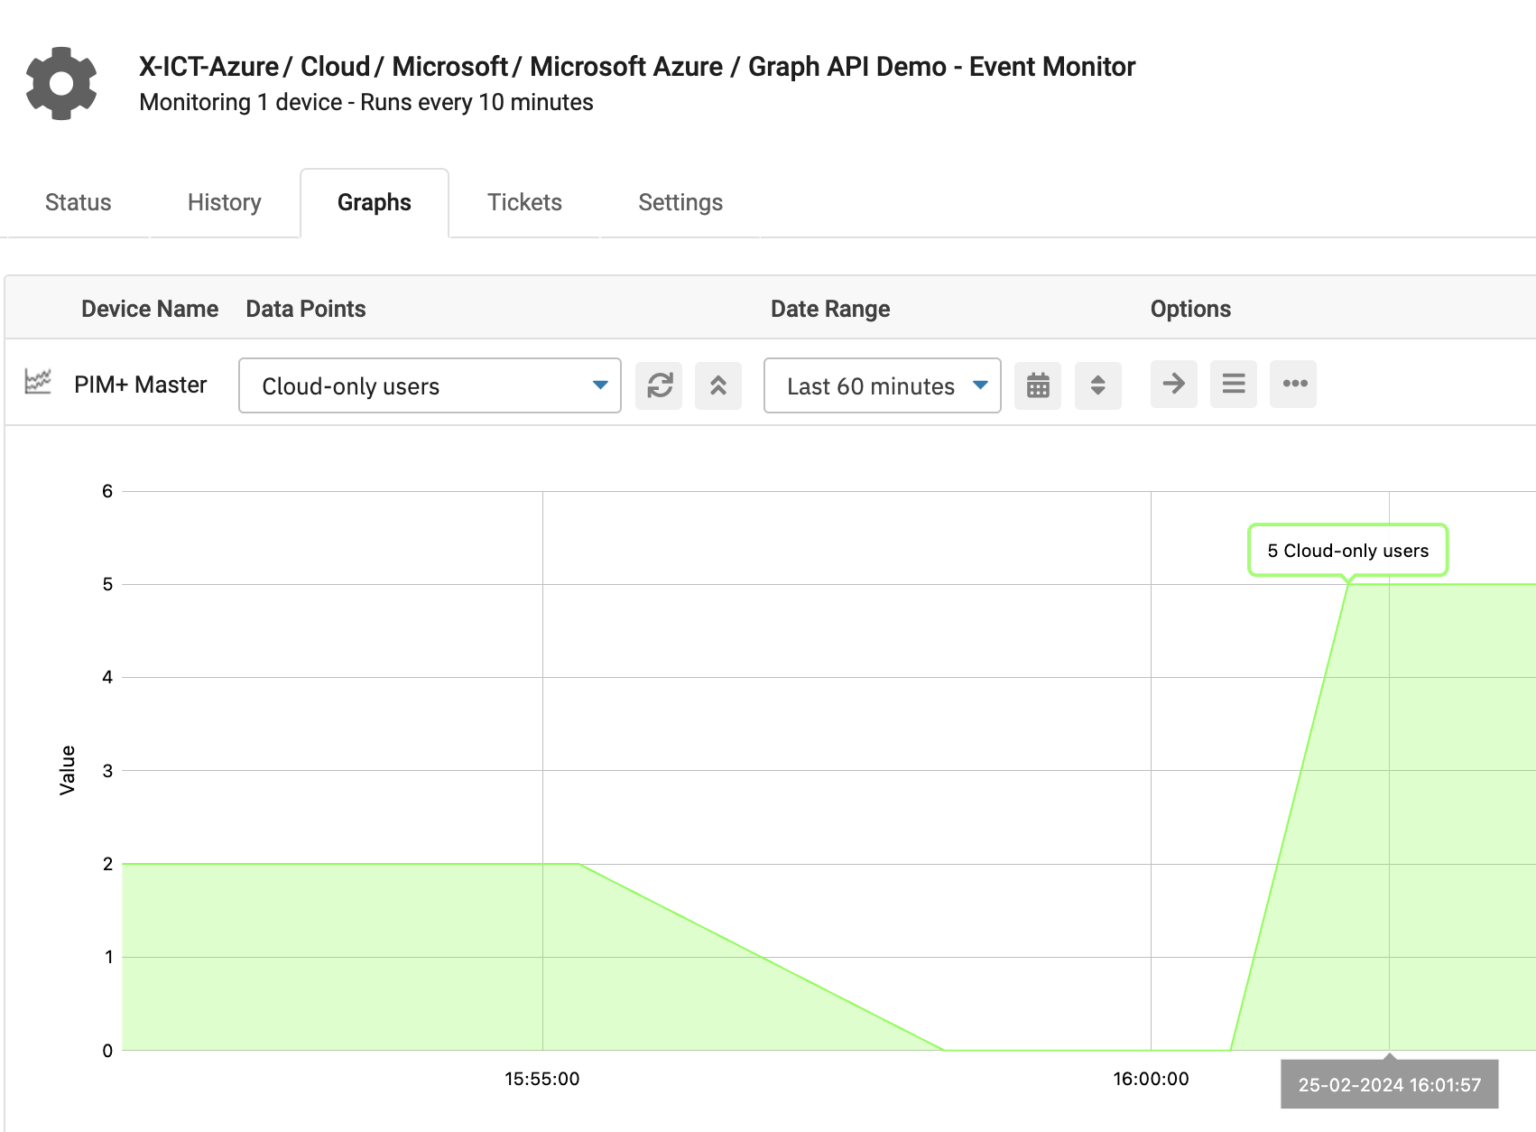
Write-Host "DataPoint(%%devicename%%)=1|DP1|Cloud-only users|$userCount|Success"
Write-Host "Success(%%devicename%%)=Total Users: $userCount <br /> <br /> Users: <br /> $outputUser"
}
Catch {
# Handle errors by capturing and displaying the error message and the item that caused the error
$ErrorMessage = $_.Exception.Message
$FailedItem = $_.Exception.ItemName
Write-Host "Error=$FailedItem $ErrorMessage"
}
The output displays all the users from Microsoft Entra ID, retrieved directly via the Graph API. It’s a powerful API and easily integrates with PIM+.
But now comes the exciting part! You can add filters such as onPremisesSyncEnabled eq false to identify users migrated from AD Connect and those pending migration. Additionally, you can implement monitoring on the user count to alert you when users are added or removed. Essentially, you’re limited only by your imagination in building functionalities. How cool is that?
# API endpoint to filter for users with onPremisesSyncEnabled = false
$url    = 'https://graph.microsoft.com/v1.0/users?$filter=onPremisesSyncEnabled eq false'
We’re adding lots of new features to PIM+ so you won’t have to do much coding. But sometimes, if you need something very specific, making your own PowerShell script can be better than using Azure Monitor. Here’s something cool you can do: easily check how many devices someone has without limiting them, yet still monitor them closely. For Example:
# Function to get the device count for a user
function Get-UserDeviceCount {
    param (
        $accessToken,
        $userID
    )
    $url = "https://graph.microsoft.com/v1.0/users/$userID/registeredDevices"
    $headers = @{
        Authorization = "Bearer $accessToken"
    }
    $response = Invoke-RestMethod -Uri $url -Headers $headers -Method Get
    return $response.value.Count
}
# Main script execution
try {
    $accessToken = Get-GraphAccessToken -clientID $clientID -clientSecret $clientSecret -tenantID $tenantID
    $users = Get-AllUsers -accessToken $accessToken
    foreach ($user in $users) {
        $deviceCount = Get-UserDeviceCount -accessToken $accessToken -userID $user.id
        if ($deviceCount -gt 2) {
            Write-Host "Warning(%%devicename%%)=Alert: User $($user.displayName) ($($user.userPrincipalName)) has more than two devices registered. Device count: $deviceCount";
        }
        else {
            Write-Host "Success(%%devicename%%)=No duplicate devices";
        }
    }
} catch {
    Write-Error "An error occurred: $_"
}
I’m also working on a better Intune monitor that includes some security features that are missing right now, thanks to the Graph API. Hope you learned the basics through this post; I wanted to keep things simple ;). I’ll share more about this later. Thanks for sticking with me, and happy coding! 😃