How To Install a Remote Node
Updating PIM+ To a New Version
Follow these steps to install a new PIM+ Remote Node.
Before we install the PIM+ Remote Node, we need to create a remote node authentication user.
-
Login to the PIM+ Master console.
-
Go to the settings tab, and select Login and Security Settings in the menu.
-
Select Add account to add a new user.
-
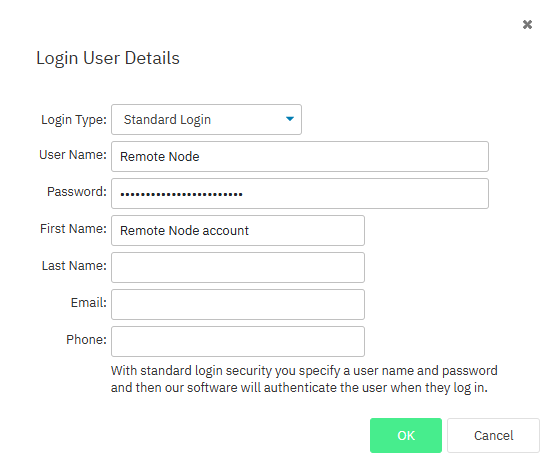
Create a user with the following information, and click Ok.
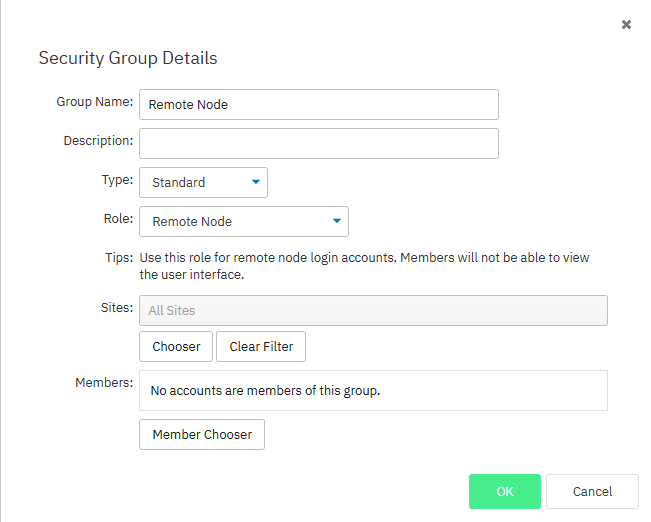
- Create a new Remote Node group with the role "Remote Node" or create a new security group. Add the newly created user to this group.
-
Now login to the PIM+ Remote Node and run the PIM+ installer as Admin and click Next.
Note: This screen is part of the configuration utility, which will pop up after the main installation completes.
-
Select the path where you would like to install the software.
-
Accept the Terms and Conditions, and click Next.
-
Click Install to start installing the software.
-
When the installation is done you will get the option to start up the Configuration Utility, tick the box and click Finish.
-
You will now see the Release Notes, click Next.
-
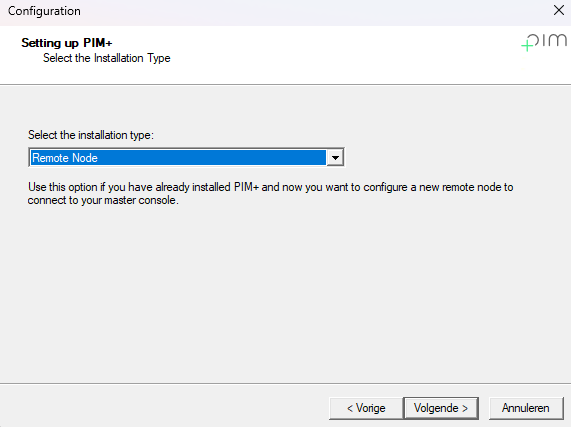
Select the Remote Node and click Next.
-
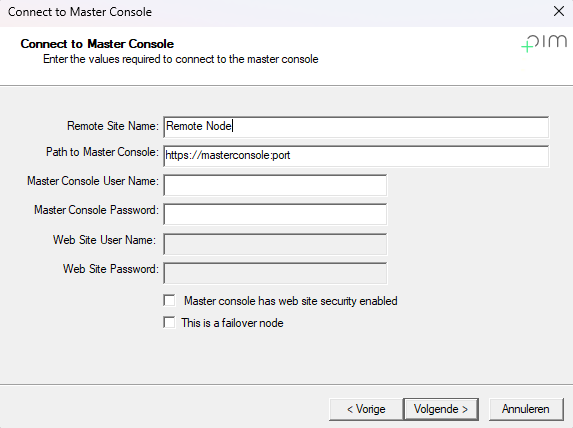
Now it's time to make a connection to the Master Console:
- Remote site name: Choose a logical name for this site.
- Path to Master Console: Enter the address of the Master Console.
- Master Console user name: Sign in with the credentials you created earlier.
-
If the Master Console settings are incorrect, you will get an error message. If the connection is successful, you can finish the wizard.
-
Now open the PIM+ Master Console, and you will see that the new site has been added to PIM+. This can take up to 5 minutes.