How To Upgrade PIM+
Updating PIM+ To a New Version
Follow these steps to update PIM+ to a newer version.
Step 1: Download the Installer
Log in to the PIM+ Support Portal and download the latest installer.
Step 2: Run the Installer
Run the .exe file as Administrator on the PIM+ server.
Step 3: Start the Upgrade
Click “Next” and verify that the installation path is correct for updating PIM+. Accept the license agreement and click “Next”.
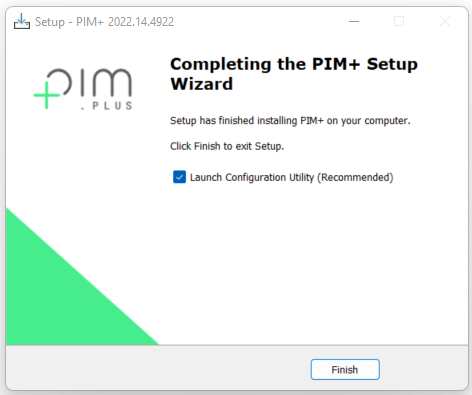
Step 4: Install and Launch Configuration Utility
Click “Install” and wait for the upgrade to complete. Check the box “Launch configuration utility” and click “Finish”.
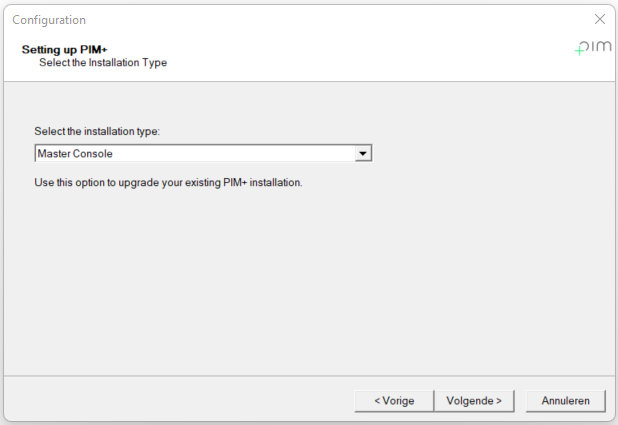
Step 5: Installation Type
If you have a multi-site installation, select the correct console/node and click “Next”.
If you are upgrading a main server or failover server, select Master Console.
If you are upgrading a Remote Node (Probe), select Remote Node.
Note: When you upgrade the main server, all remote nodes will also be upgraded automatically.
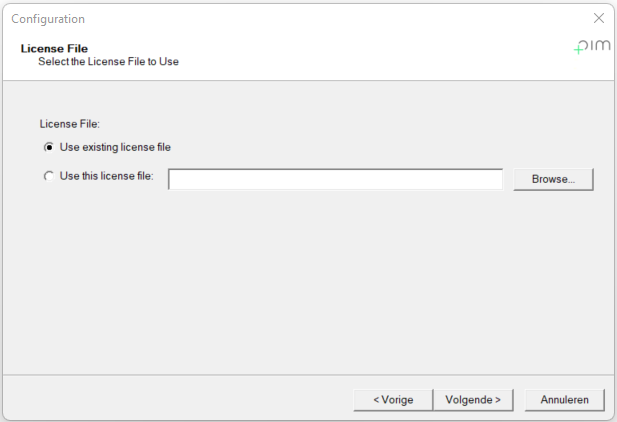
Step 6: Use Existing License File
Click “Next” and select the option “Use existing license file”. The upgrade is now complete and the PIM+ services will start.
PIM+ is now up to date!